Shower Glass Replacement Cost In Virginia (Breakdown)
A cracked shower panel, a door that no longer closes properly, or glass that has simply seen better days can make your bathroom feel older than it really is.
If you’re thinking about replacing your shower glass, one of the first things you’ll probably want to know is how much it’s going to cost.
The good news is that replacements come with plenty of options to fit different budgets.
This guide breaks down shower glass replacement costs in Virginia, so you can get a better idea of what to expect before starting your project.
How Much Does Shower Glass Replacement Cost?
Shower glass replacement costs range from around $500 to $3,000 in Virginia.
Smaller projects like replacing a single framed glass panel, tend to sit at the lower end of the range. Larger frameless enclosures and custom glass installations can push costs much higher.
Most homeowners spend somewhere between $1,000 and $2,000 for a standard replacement project.
That price often includes the glass itself, installation, and removal of the old materials.
Keep in mind that every bathroom is different. A simple replacement using standard-sized glass is generally much more affordable than a custom-designed enclosure that requires special measurements and hardware.
Also Read: Can You Use Rain X On Shower Doors?
Shower Glass Replacement Cost By Type
The type of shower glass you choose has a huge effect on the overall cost:
| Shower Glass Type | AVG Cost |
| Framed Shower Glass | $500 – $1,200 |
| Semi-Frameless Shower Glass | $800 – $2,000 |
| Frameless Shower Glass | $1,200 – $3,000+ |
| Custom Shower Glass | $1,800 – $4,500+ |
| Single Glass Panel Replacement | $300 – $1,000 |
| Shower Door Replacement Only | $600 – $2,000 |
Factors That Affect Shower Glass Replacement Cost
There are several factors that influence the final price of replacing shower glass in Virginia. Some are obvious, while others catch homeowners off guard.
Here are the biggest ones:
#1 Glass Size And Thickness
One of the biggest pricing factors is the size of the glass panel.
Larger panels require more materials and often need additional labor during installation.
Thickness matters too. Shower glass commonly comes in several thickness options, with thicker glass offering greater durability and a more premium appearance. Frameless systems typically require thicker glass than framed designs.
A small replacement panel may cost a few hundred dollars, while oversized custom panels can add hundreds or even thousands to the project total.
Also Read: Can You Paint Shower Door Frames?
#2 Glass Style
Not all shower glass looks the same.
The style you choose can affect both appearance and cost.
Common options include:
- Clear glass
- Frosted glass
- Tinted glass
- Textured or patterned glass
Clear glass is often the least expensive and remains the most popular choice. Frosted and decorative styles typically cost more because of the additional manufacturing processes involved.
Low-iron glass, known for its crystal-clear appearance, is another premium option that usually comes with a higher price tag.
#3 Hardware And Accessories
The glass itself is only part of the project. Hardware can make a surprisingly large difference in the final cost of shower glass replacement.
Items such as hinges, handles, brackets, towel bars, and mounting clips all contribute to the overall budget. Basic chrome hardware tends to be more affordable, while finishes like matte black, brushed nickel, and polished brass often cost more.
If your existing hardware is still in good condition, reusing it may help reduce expenses.

In some cases, though, older hardware may not be compatible with new glass panels.
#4 Labor Costs
Professional installation is a major component of shower glass replacement costs.
Labor rates vary based on your location in Virginia, the complexity of the project, and the installer’s experience.
Installing a standard replacement panel is usually straightforward. Custom frameless systems, on the other hand, often require precise measurements and careful installation techniques.
Many contractors charge higher rates for complicated projects involving large glass panels, difficult access, or extensive customization.
#5 Removal Of Existing Glass
Before new glass can be installed, the old glass often needs to be removed and disposed of.
This process may seem simple, but it can add extra labor charges. Broken glass requires careful handling, and older enclosures sometimes reveal hidden issues once they’re removed.
For example, installers may discover water damage, loose tiles, mold, or deteriorated wall materials behind the existing enclosure.
Addressing these issues can increase the overall project cost but may prevent larger problems later.
Signs It’s Time To Replace Your Shower Glass
Shower glass is durable, but it won’t last forever. Over time, wear and tear can affect both appearance and functionality.
Here are a few common signs may indicate it’s time for a replacement:
- Cracks, chips, or visible damage
- Leaks around the edges of the enclosure
- Rusted or corroded hardware
- Glass that no longer fits properly
- Permanent staining or cloudiness that won’t clean off
Even small cracks should be taken seriously. Tempered glass is designed for safety, but damaged panels can become weaker over time.
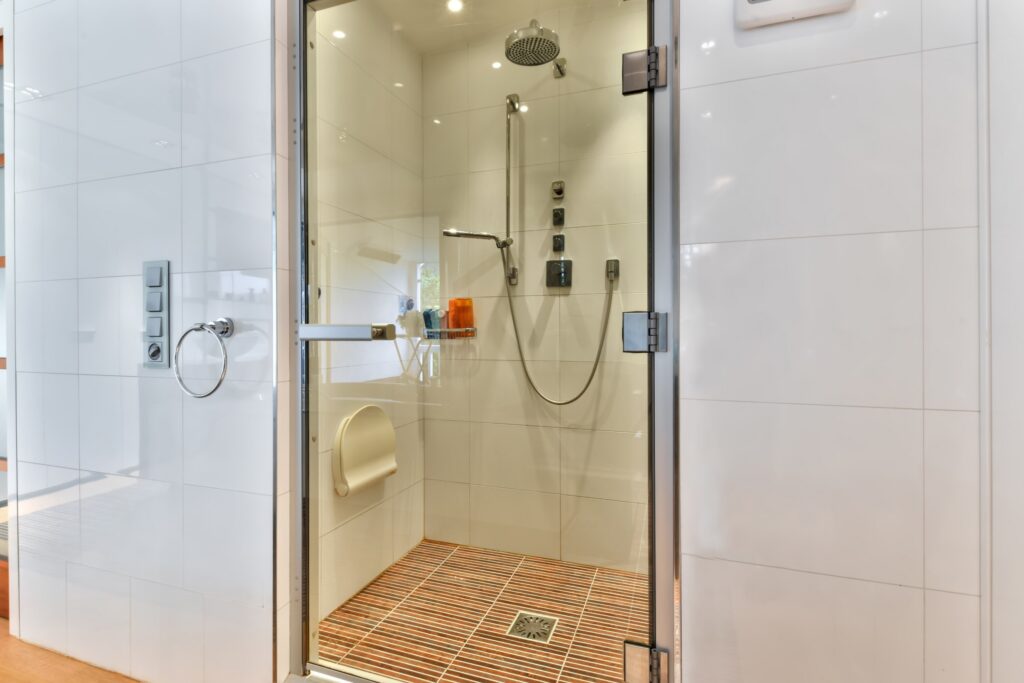
Many homeowners also choose replacement simply to modernize their bathrooms.
Upgrading from an older framed enclosure to a sleek frameless design can dramatically improve the room’s appearance.
Also Read: Shower Door Weep Holes
Can You Replace Shower Glass Yourself?
Technically, yes. Some homeowners choose to replace shower glass on their own, especially when dealing with smaller framed panels.
That said, shower glass replacement is not always a simple DIY project.
Glass panels are heavy, fragile, and difficult to maneuver safely. Accurate measurements are critical, and even a small mistake can result in expensive replacement costs.
Frameless systems can be especially challenging because they rely on precise installation for both stability and appearance.
For many people, hiring a professional is worth the added cost.
Professional installers have the tools, experience, and equipment needed to handle large glass panels safely while ensuring a proper fit.
Tips To Save Money On Shower Glass Replacement
Replacing shower glass doesn’t have to break the bank.
Here are a few tips to keep costs under control:
- Get estimates from multiple installers.
- Choose standard-sized glass whenever possible.
- Reuse existing hardware if it’s still in good condition.
- Replace only damaged panels instead of the entire enclosure when practical.
- Consider framed or semi-frameless options for a lower-cost solution.
Planning ahead can also help. Last-minute custom orders and emergency replacements often cost more than scheduled projects.
Bottom Line
Shower glass replacement costs can range from $500 – $3000+, depending on the type of glass, size of the enclosure, hardware, labor, and removal requirements.
Most homeowners can expect to spend between $1,000 and $2,000 for a replacement.
While cost is always important, quality matters too. A properly installed shower enclosure can improve your bathroom’s appearance, increase functionality, and provide years of reliable use.
Taking time to compare options and gather estimates can help you find the right balance between budget and long-term value.