
Can You Paint Shower Door Frames? (Yes – Here’s How)
If you’ve ever looked at your bathroom and thought the shower doors were making the whole space feel old, you’re definitely not alone.
A lot of older bathrooms have those faded aluminum frames, shiny gold trim from the ‘90s, or scratched-up metal edges that instantly date the room.
The good news is you usually don’t need to rip everything out just to make it look better.
Painting shower door frames has become a popular weekend project because it’s affordable, pretty beginner-friendly, and can seriously change the look of a bathroom without spending thousands on a remodel.
In this post, we’ll show you how to paint shower door frames like a PRO.
Can You Paint Shower Door Frames?
Yes, you can paint shower door frames, and in many cases, the results look great.
Most shower frames are made from aluminum or coated metal, which can hold paint very well after proper preparation.
The biggest reason some paint jobs fail isn’t the paint itself. It’s poor prep. If the frame still has soap scum, water spots, or glossy residue on it, the paint struggles to stick.
That’s when people start seeing peeling, bubbling, or chipping after a few months.
The good news is modern spray paints and bonding primers have made this project much easier than it used to be.
Also Read: Shower Door Weep Holes
One thing to keep in mind, though, is that painting works best on frames that are still structurally in good shape. If the metal is heavily corroded, loose, or leaking around the edges, replacing the enclosure may save you more frustration long term.
How To Paint Shower Door Frames
Painting shower door frames isn’t especially difficult. Here’s how to do it:
Supplies You’ll Need
Before starting, gather everything ahead of time so you’re not running around mid-project with wet paint drying in the bathroom.
You’ll need:
- Bathroom cleaner or degreaser
- Sandpaper or sanding sponge
- Painter’s tape
- Drop cloths or plastic sheeting
- Bonding primer for metal
- Metal-safe paint or spray paint
- Gloves and safety mask
A lot of people prefer spray paint because it leaves a smoother finish with fewer brush marks. Brush-on paint can still work perfectly fine, though, especially if you move slowly and use thin coats.
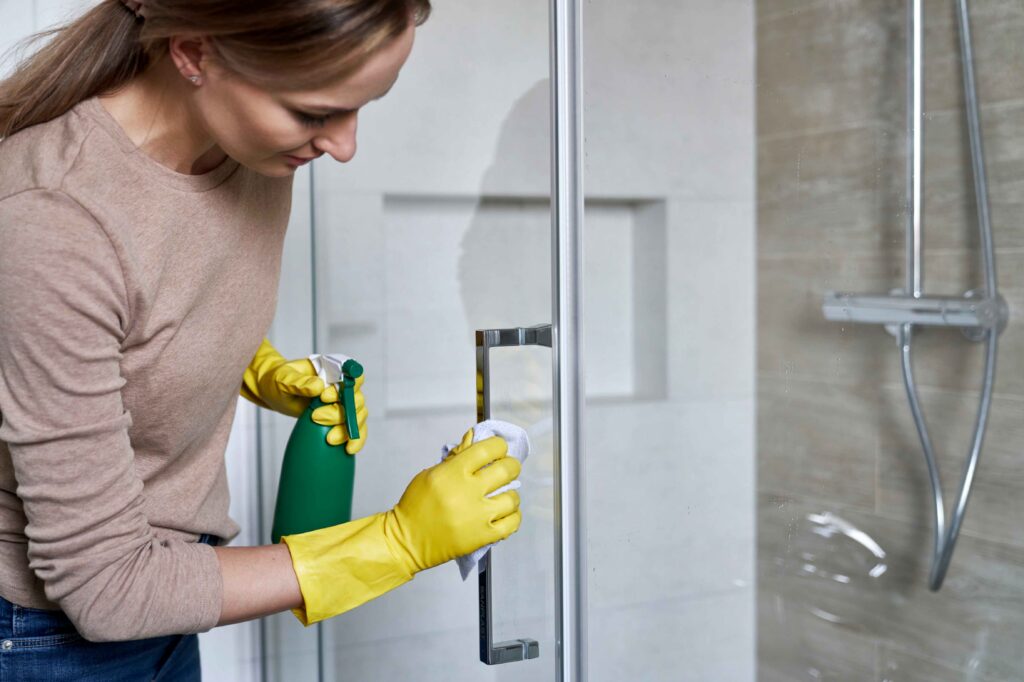
#1 Clean The Frame Thoroughly
Shower frames collect years of soap scum, shampoo residue, body oils, hard water stains, and cleaning product buildup. Even if the frame looks clean at first glance, there’s usually still residue sitting on the surface.
Use a strong bathroom cleaner or degreaser and really scrub the frame down. Pay close attention to corners, edges, and tracks where grime tends to hide.
Also Read: How To Transport A Sliding Glass Door
After cleaning, rinse everything thoroughly and let it dry completely.
If you skip this step or rush through it, the paint may struggle to bond properly. That usually leads to peeling sooner than expected.
#2 Sand The Surface
Once the frame is clean and dry, lightly sand the entire surface.
You’re not trying to strip the metal completely. Simply to dull the shiny finish and create a slightly rough texture so the primer can grip better.
A sanding sponge works great because it fits around corners and curved edges more easily than regular sandpaper. After sanding, wipe the frame down again to remove all dust.
This step can feel annoying, but it makes a huge difference in the final result.
#3 Tape Off The Glass And Surrounding Areas
Now comes the detail work.
Use painter’s tape to protect the glass, tile, walls, shower floor, and nearby fixtures.
Take your time here because neat taping leads to cleaner-looking lines later.
Many people also use plastic sheeting or newspaper to cover larger sections around the shower. Spray paint overspray can travel farther than expected, especially in smaller bathrooms.
Good prep during this stage saves a ton of cleanup afterward.
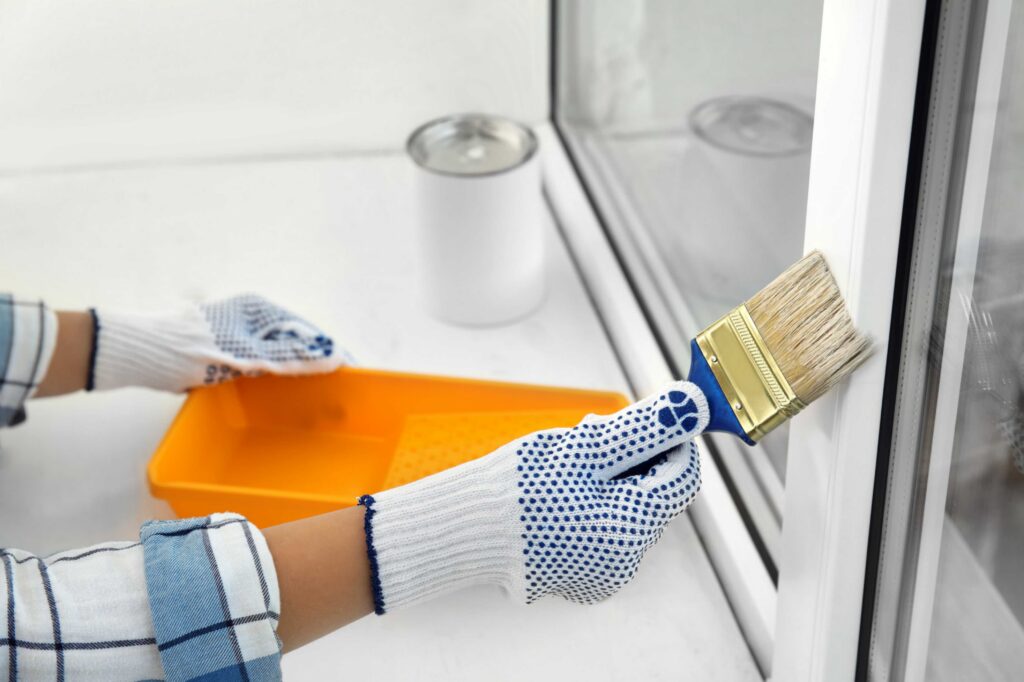
#4 Apply Primer
Primer is what helps the paint bond securely to the metal frame. Without it, even expensive paint may chip or peel much faster.
Use a bonding primer designed for metal surfaces.
Apply thin, even coats and follow the manufacturer’s drying instructions carefully. Don’t try to rush this part by applying thick layers. Thick primer tends to drip and creates uneven texture.
Once the primer dries, the frame should already start looking smoother and more uniform.
#5 Paint In Thin Coats
This is where the transformation really starts happening. Apply your paint in thin, even coats instead of trying to fully cover everything in one pass.
If you’re using spray paint, keep the can moving steadily to avoid drips. Several light coats almost always look better than one heavy coat.
Let each layer dry before adding the next one.
The first coat may look disappointing at first, and that’s completely normal. Coverage builds gradually. By the second or third coat, the frame usually starts looking dramatically better.
Patience here pays off big time.
Also Read: Window Repair Vs Replacement
#6 Let Everything Cure Fully
Dry and cured are not the same thing. Paint might feel dry to the touch within a few hours, but it still needs time to fully harden.
This is one of the hardest parts because people naturally want to start using the shower again right away. But exposing fresh paint to steam and moisture too early can ruin the finish before it fully sets.
If possible, let the paint cure for at least a couple of days before using the shower regularly again.
How Long Does Painted Shower Trim Last?
A properly painted shower door frame can last several years, especially when good prep work and quality materials are involved.
Some homeowners get five years or more before needing touch-ups.
Durability depends heavily on the bathroom environment though. A bathroom with poor ventilation and constant humidity usually causes paint to wear down faster.
Strong cleaning chemicals can also shorten the life of the finish over time.
Gentle cleaning helps a lot. Soft cloths and mild bathroom cleaners tend to preserve painted surfaces much better than abrasive scrubbers or harsh chemicals.
Best Color Ideas For Shower Door Frames
Black remains one of the most popular choices because it creates a sleek, modern look almost instantly. It works especially well in bathrooms with white tile or lighter walls.
White frames can brighten the entire space and help older showers blend into the room more naturally.
This option often feels clean, simple, and timeless.
Bronze and dark gray finishes are also becoming more common. They give the bathroom warmth without feeling too trendy or overpowering.
If you want the safest option, satin black or matte black tends to match almost everything.
Also Check Out Our: Richmond Shower Glass Installation services
When Does Replacing The Frame Make More Sense?
Painting can work wonders, but it won’t solve every problem. Sometimes replacement is simply the smarter move.
If the frame has major rust, loose hardware, broken tracks, severe corrosion, or constant leaking, paint probably won’t fix the underlying issues.
In those situations, investing in a new enclosure may actually save money and hassle later.
Very old shower doors with cloudy glass, failing seals, or warped frames also tend to look better after full replacement instead of cosmetic updates.
Still, for many bathrooms, paint alone can make an older shower look surprisingly fresh again.
Bottom Line
Yes, you can paint shower door frames, and for many homeowners, it’s one of the easiest ways to refresh a dated bathroom without spending a fortune.
Take your time with cleaning, sanding, priming, and applying thin coats instead of rushing through the process.
A well-painted frame can completely change the look of the shower and help the entire bathroom feel newer. And honestly, seeing that old faded metal turn into a clean modern finish is pretty satisfying once the project is done.


